Moving day has a way of turning even the most organized kitchen into a chaotic jumble of mismatched forks, loose knives, and tangled spoons. If you have ever unpacked a box only to find your silverware scattered and scratched, you already know how frustrating poor packing can be. Learning how to pack silverware for moving the right way takes only a little extra time upfront, but it saves you significant stress on the other end. Whether you are relocating across Portland or moving to a new state entirely, this comprehensive guide will walk you through every step of the process so your utensils arrive organized, protected, and ready to use.
Why Proper Silverware Packing Actually Matters
Silverware might seem like one of the easier categories to pack. After all, forks and spoons are not fragile like wine glasses or ceramic plates. However, dismissing silverware as a low priority is one of the most common moving mistakes people make. Here is why it deserves real attention.
First, loose silverware shifts and rattles during transport, which can cause scratches on good flatware sets or even bend thinner utensils. Second, sharp knives that are not wrapped properly pose a genuine safety hazard to anyone handling the box, including movers. Third, disorganized packing means disorganized unpacking. If all of your utensils are thrown together without any system, setting up your new kitchen takes far longer than it should. Taking the time now means saving time later, and it protects both your belongings and the people moving them.
Another important factor is hygiene. When utensils are packed loosely with other items, they can easily come into contact with dirty surfaces, cleaning chemicals, or broken pieces from other boxes. Properly wrapping and separating your silverware keeps everything sanitary so that, once you arrive, you can confidently put your utensils away with minimal extra washing. In addition, if you own heirloom flatware or higher-end stainless steel pieces, careful packing helps prevent tarnish and long-term damage.
Step One: Sort Your Silverware Before You Pack Anything
The very first step in how to pack kitchen utensils for moving is sorting. Before you reach for a single sheet of packing paper, pull everything out of your utensil drawers and separate items into logical categories.
- Forks: Separate dinner forks from salad forks and serving forks.
- Knives: Keep butter knives apart from steak knives and any other bladed utensils.
- Spoons: Group teaspoons, tablespoons, and serving spoons individually.
- Specialty utensils: Tongs, ladles, spatulas, whisks, and peelers should be sorted as a separate group.
Sorting first gives you a clear picture of what you have and makes bundling far more efficient. It also helps you identify items you no longer use, so you can donate or discard them before they take up space in your moving boxes.
As you sort, take a moment to wipe down sticky handles or food residue. A quick clean before packing prevents grime from spreading to your wrapping materials and boxes. You can also set aside a small “essentials” pile of everyday utensils that you will keep available until moving day—such as a few forks, knives, and spoons for each family member—so you are not digging through packed boxes when it is time for a meal.
Step Two: Gather Your Packing Materials
Having the right supplies on hand before you start is essential. Using improper materials, such as newspaper with ink that can transfer to your silverware, is a mistake worth avoiding. Here is what you will need for a clean, professional pack.
- Packing paper: Unprinted newsprint or clean white packing paper is ideal for wrapping utensils individually or in small bundles.
- Rubber bands: Use these to secure bundled utensils tightly before wrapping.
- Ziplock bags: Sandwich or quart-sized bags are excellent for keeping small sets together and preventing contact between metals.
- Utensil trays or kitchen organizers: If you already own a drawer organizer, bring it along. It doubles as packing structure inside a box.
- Small to medium boxes: Silverware is heavy when packed in bulk, so smaller boxes prevent overloading.
- Packing tape: Use this to seal bundles and boxes securely.
- Labels or a permanent marker: For clear identification on the outside of every box.
If you have particularly valuable or antique pieces, you may also want soft cloth pouches, felt, or bubble wrap for an extra layer of protection. While these materials are not strictly necessary for everyday flatware, they can be very helpful if you are worried about scratches or tarnish. Keeping all of your packing supplies in one place, such as a small bin or caddy, makes the process smoother and prevents you from constantly searching for tape or markers.
Step Three: Bundle Your Utensils Properly
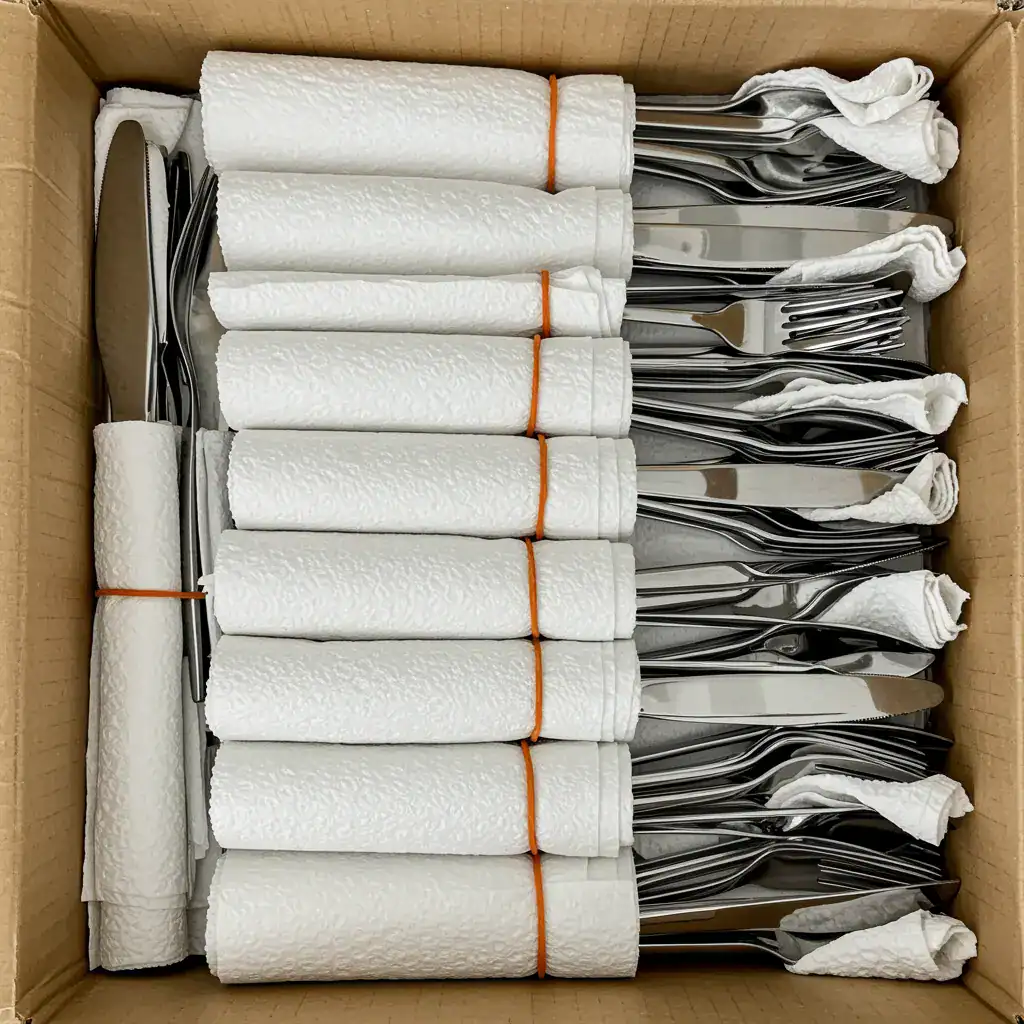
Once everything is sorted and your materials are ready, begin bundling. Group utensils by type and size. For example, bundle six dinner forks together, secure them with a rubber band around the handles, and then place the group on a sheet of packing paper. Roll the utensils tightly, folding in the sides of the paper as you go to create a secure, neatly wrapped bundle.
Repeat this process for each category: forks with forks, spoons with spoons, and so on. Keeping similar pieces together ensures that unpacking is quick and intuitive. Aim for bundles that are small enough to handle easily but not so small that you end up with an excessive number of tiny packets cluttering your boxes. Generally, groups of four to eight pieces work well, depending on the size and weight of the utensils.
For specialty utensils such as ladles, serving tongs, or large spatulas, wrap each item individually or in pairs if they fit together comfortably. Because these tools are often oddly shaped, take extra care to pad any sharp or protruding edges with additional paper. Labeling the outside of a bundle with a quick note, such as “serving spoons” or “baking tools,” can also make it easier to set up specific kitchen zones in your new home.
Step Four: Handle Knives and Sharp Utensils Safely
Knives and other sharp tools require special attention. Lay each knife flat on a sheet of packing paper, with the blade facing the center. Fold the bottom of the paper up over the blade, then fold in the sides and roll until the entire knife is covered. Secure the wrapped knife with tape, taking care not to place tape directly on the blade.
For extra safety, you can slide wrapped knives into a cardboard sleeve or fold an additional layer of paper around the handles. Group several wrapped knives together, blade ends aligned, and secure them with a rubber band or additional tape. Clearly label the outside with a note such as “sharp – knives” so that anyone opening the box knows to proceed carefully. If you own a knife block, you can also insert the knives blade-first into the block, wrap the entire block in paper or bubble wrap, and place it upright in a box.
Step Five: Use Ziplock Bags for Small Sets
Smaller items, such as teaspoons or specialty cocktail forks, can easily get lost in larger bundles. After wrapping these in small groups, place them into labeled Ziplock bags. This keeps them contained and makes counting pieces simple once you arrive. Ziplock bags are also helpful for children’s utensils, reusable straws, chopsticks, and other small accessories that tend to roll to the bottom of a box.
Be sure to press out excess air before sealing the bags so they lie flat and pack neatly. If you are concerned about moisture, you can add a small silica gel packet to the bag, especially for silver or silver-plated pieces that are prone to tarnishing. Just make sure the packet does not come into direct contact with the utensils.
Step Six: Pack Silverware Trays and Organizers
If you use a plastic, bamboo, or metal silverware tray in your current kitchen, you can absolutely move it with everything still in place. First, sort and bundle utensils as described above. Then, lay the wrapped bundles back into the organizer in their usual spots. Once the tray is full, cover the top with a layer of packing paper, tucking the edges in so nothing can shift out.
Place the entire organizer into a small or medium box. If there is extra space around the tray, fill it with crumpled paper or lightweight kitchen items like dish towels to prevent shifting. This method not only protects your utensils but also makes setting up the new kitchen easier—you simply transfer the tray to its new drawer, remove the paper, and everything is already sorted.
Step Seven: Choose the Right Box and Pack Strategically
Select a sturdy small or medium box for your silverware, as larger boxes can become extremely heavy and difficult to lift once full. Line the bottom of the box with a generous layer of crumpled packing paper for cushioning. Then, place the heaviest bundles—usually knives and dense flatware sets—on the bottom.
Arrange lighter bundles and organizers on top, filling gaps with additional crumpled paper so nothing can shift during transport. If you are combining silverware with other kitchen items, keep fragile pieces like glass or delicate ceramics separated from sharp or heavy utensils by at least one layer of padding. Once the box is full and snug, add a final layer of paper at the top before sealing it with packing tape.
Step Eight: Label Clearly for Easy Unpacking
Clear labeling saves time and frustration when you reach your new home. On at least two sides and the top of the box, write a description such as “Kitchen – Silverware & Utensils” along with a note like “Heavy” or “Sharp items inside” if applicable. If you maintain an inventory list for your move, you can add a box number and record the contents for quick reference.
Consider marking one or two boxes as “Open First” boxes for essential kitchen items. Including a small set of utensils in one of these boxes means you will have what you need for meals even before the rest of the kitchen is fully unpacked.
Special Considerations for Silver and Heirloom Flatware
If you are packing real silver or heirloom flatware, take a few additional precautions. Silver is prone to tarnishing when exposed to air and certain chemicals. Before packing, gently polish and dry each piece thoroughly. Wrap the items in acid-free tissue or special anti-tarnish paper instead of standard packing paper.
Store silver sets in their original chest or a padded box if you have one. Fill any empty spaces inside the case with soft cloth or paper so the pieces cannot rattle. Then wrap the entire chest and place it in a well-padded moving box. Avoid storing genuine silver with everyday stainless steel, as contact between different metals can sometimes cause discoloration over time.
Common Mistakes to Avoid When Packing Silverware
In the rush of moving, people often cut corners with smaller items like utensils. Avoid tossing loose silverware into boxes, packing knives without clearly marking them, or overloading large boxes until they are difficult or unsafe to lift. Skipping labels is another frequent mistake that leads to confusion later.
Also, try not to mix dirty or greasy utensils with clean ones. Even if you plan to wash everything after the move, keeping items reasonably clean before packing prevents unpleasant odors and sticky residue inside your boxes. Taking a calm, systematic approach—even if it adds fifteen extra minutes to the process—goes a long way toward a smoother, safer move.
Final Thoughts: A Little Effort for a Lot of Convenience
Learning how to pack silverware for moving is not complicated, but it does require a bit of planning and patience. By sorting, bundling, wrapping, and labeling your utensils thoughtfully, you protect your investment, reduce the risk of injury, and make setting up your new kitchen much easier. Instead of opening a box to a jumble of loose metal, you will find tidy bundles ready to slide straight into drawers and organizers.
On moving day, you will have plenty of big tasks to manage. Taking care of details like your silverware in advance allows you to focus on the larger pieces—furniture, appliances, and logistics—without worrying about someone reaching into a box and grabbing an unwrapped knife. With a few simple supplies and the steps outlined above, your flatware can be one of the easiest parts of your move to check off the list.